The Commvault software can be used as a full service of RWTH Aachen University for data storage. All backed-up data is not stored in Paderborn, but in Aachen. The entire operation runs via a web interface, including the restoration of data. Only one client is installed on the computer that is to be backed up, through which no commands can be issued. Authorizations are regulated via group memberships in the service portal. Each computer being backed up is a member of exactly one group, but each admin can be a member of several groups.
Status page backup system Aachen
Important recommendation: Anyone who has access to the data backup of a computer has quasi administrator access because they can read and overwrite all files. It is therefore advisable to use the same group for admin access to a computer and for its data backup.
In order for a group to be used for Commvault, it must be marked accordingly in the service portal (DFN AAI Entitlement function). Please contact our Support if you would like to use your group accordingly.
What needs to be done?[Bearbeiten | Quelltext bearbeiten]
- Admins must be members of a Commvault group
- Install the software client on the computer that is to be backed up
- Read out the token and FQDN on the computer
- Log on to the web interface
- Assign the computer to a group via a workflow
- Configuration of a backup plan
Step-by-step instructions[Bearbeiten | Quelltext bearbeiten]
Install client[Bearbeiten | Quelltext bearbeiten]
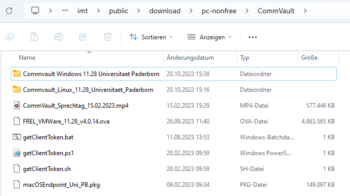
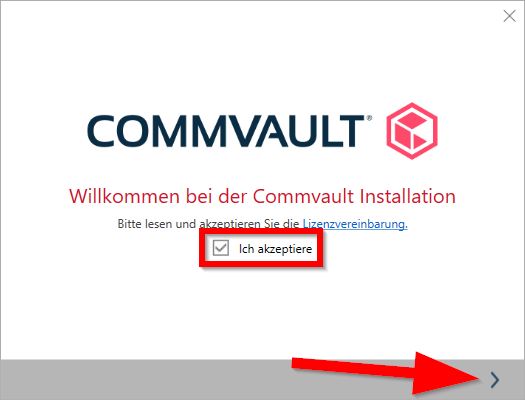
In order for a computer to be backed up, the corresponding client must first be installed. The installation packages can be downloaded from the campus network:
- Network storage Windows
\\fs-cifs\upb\departments\imt\public\download\pc-nonfree\Commvault
- Network storage Linux
/upb/departments/imt/public/download/pc-nonfree/Commvault
- Network storage for macOS
smb://fs-cifs.uni-paderborn.de/upb/departments/imt/public/download/pc-nonfree/Commvault
- Weblink

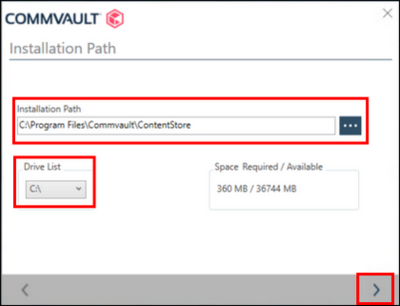
The installer also initially registers the computer in the Commvault server in Aachen. However, it is not yet assigned to a group. For this step, it is necessary to log in to the Commvault portal.


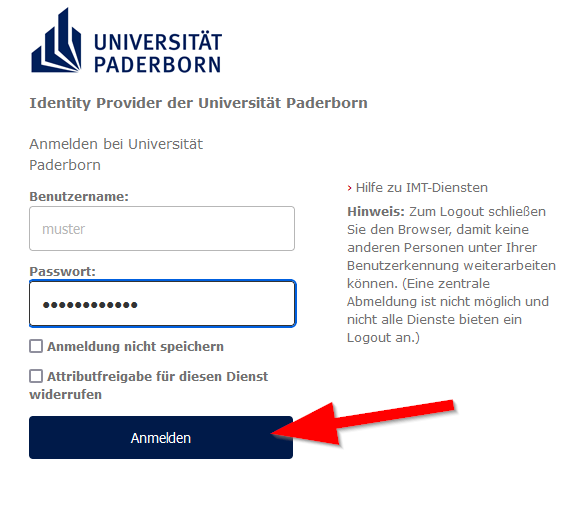
Portal Login[Bearbeiten | Quelltext bearbeiten]
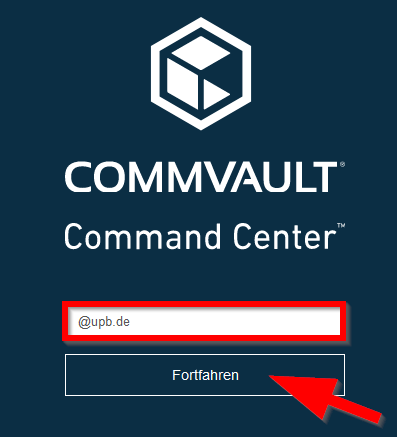
Log in to the Commvault Portal

- Enter
@upb.dein the field. - Then click "Continue".
You will be redirected to our identity provider idp.uni-paderborn.de.

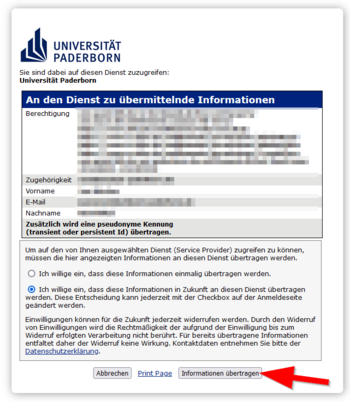
Your Commvault login requires additional authentication. If you don't yet have an additional factor set up, you will be taken to the following page.
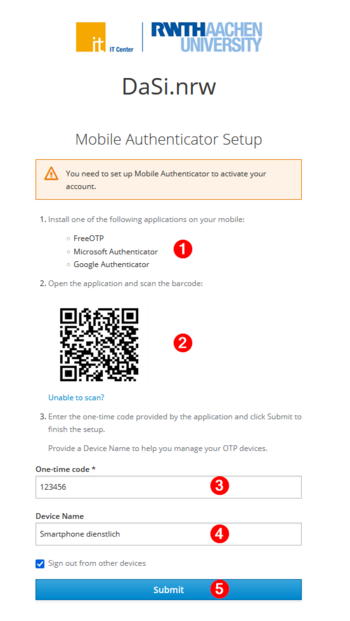
- Open your authenticator app - Don't have an authenticator app yet? Learn more here: Multi-factor-authentication
- Scan the barcode with your authenticator app.
- Enter the one-time code for Commvault that your authenticator app will now generate.
- Enter an identifier for the device on which your authenticator app is installed.
- Click "Submit" to complete the setup.
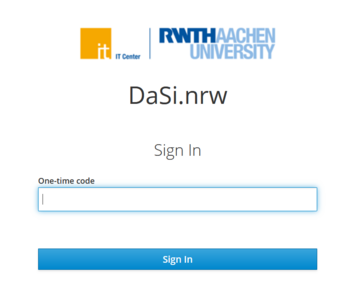
For future logins to Commvault, you will now need to enter the one-time code from your authenticator app in addition to your password.
- After successful login, the Command Center appears, where all registered computers can be viewed.
- Note: On first login, loading the Command Center may take a few seconds, as various groups need to be created first.
Assign computer group[Bearbeiten | Quelltext bearbeiten]
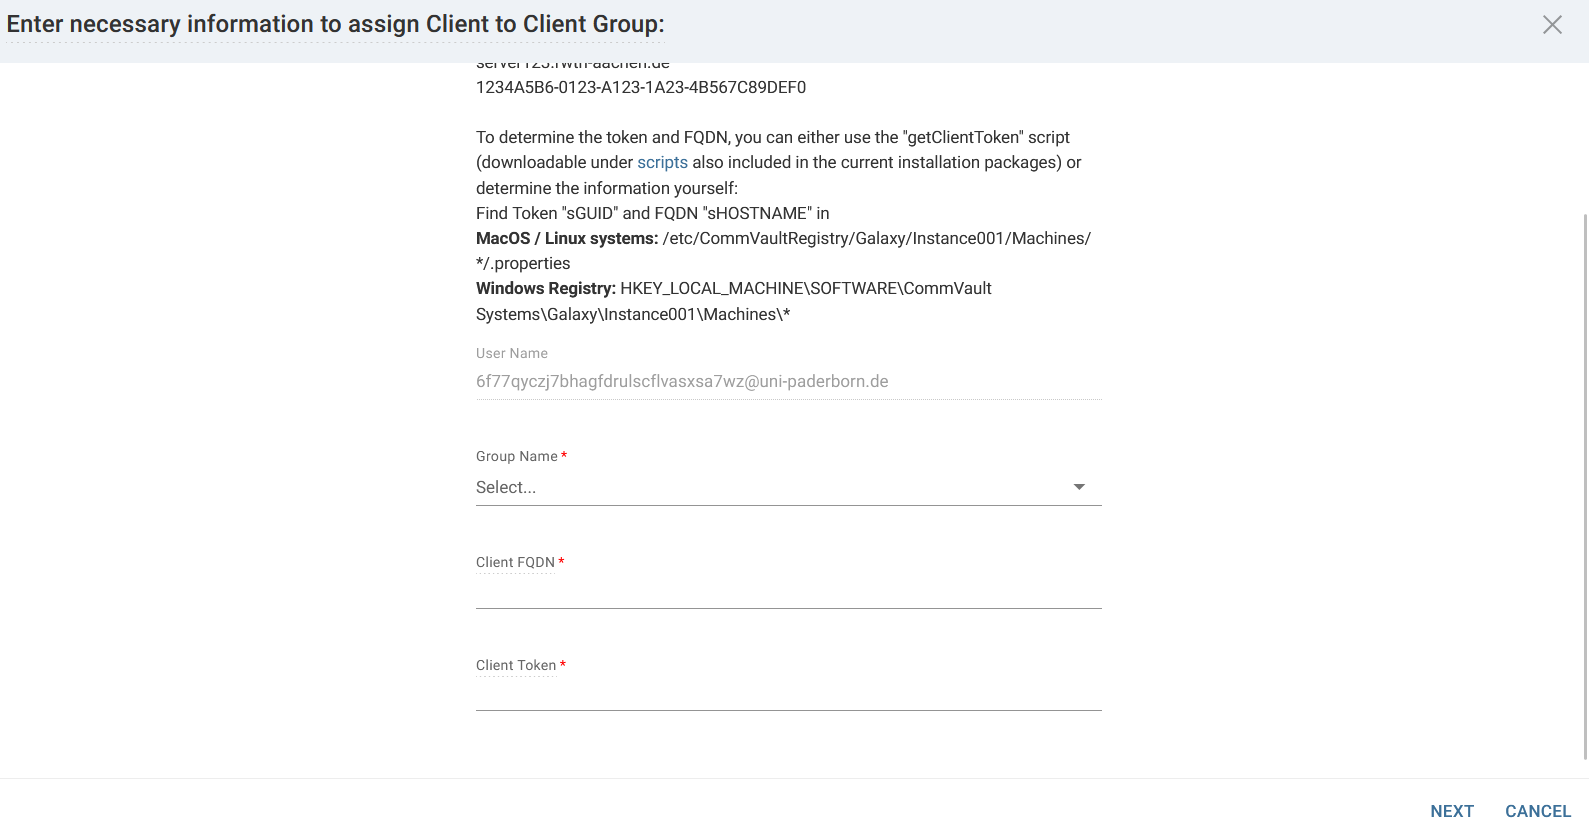
Once the backup client is installed on the computer, you can assign it to a group. To do this, you need a token and the FQDN (Fully Qualified Domain Name) for each client. In the download folder above you will find a script with which you can read this out locally on the computer.
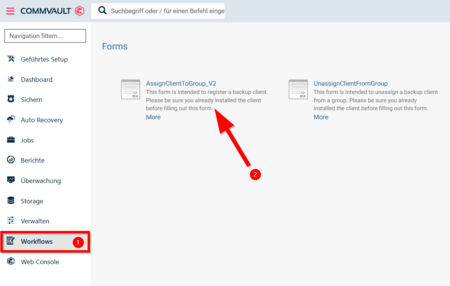
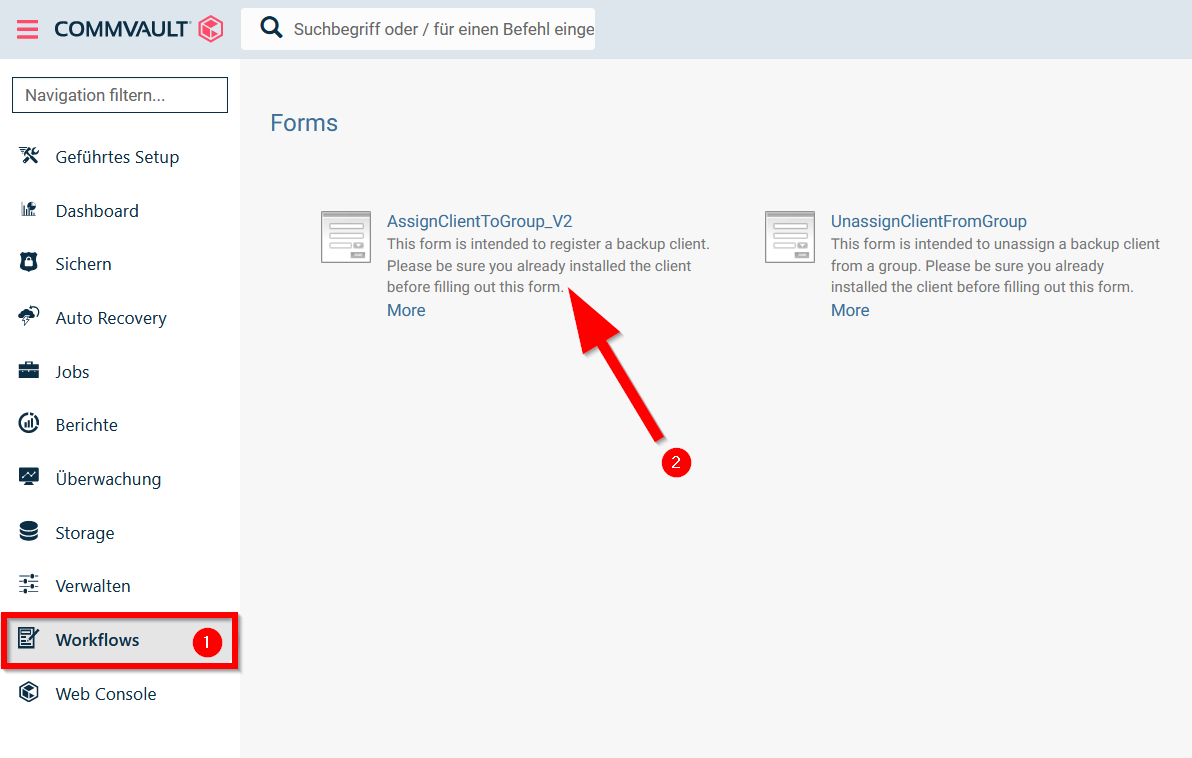
- Open the "Workflows" menu on the left-hand side.
- Click on "AssignClientToGroup_V2".
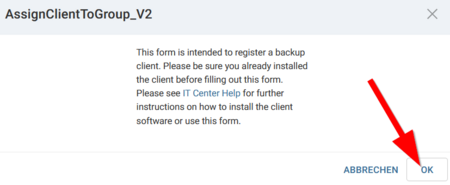
- You must already have the backup client installed on the computer.
- Click on "OK".
Enter the following information to assign the backup client to a group:
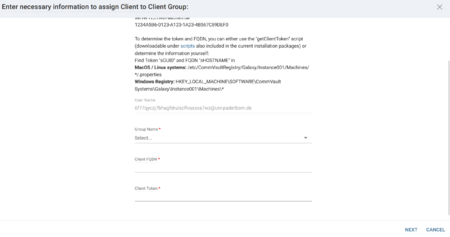
- Group Name: Select a group.
- Client FQDN: Can be read out with script on computer.
- Client Token: Can be read out with script on computer.
- Then click on "Next"'.
Remove assignment[Bearbeiten | Quelltext bearbeiten]
If a computer is to be assigned to another group, the assignment must first be removed.
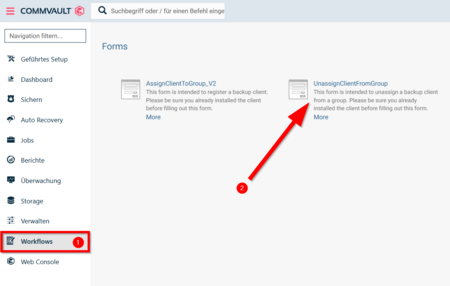
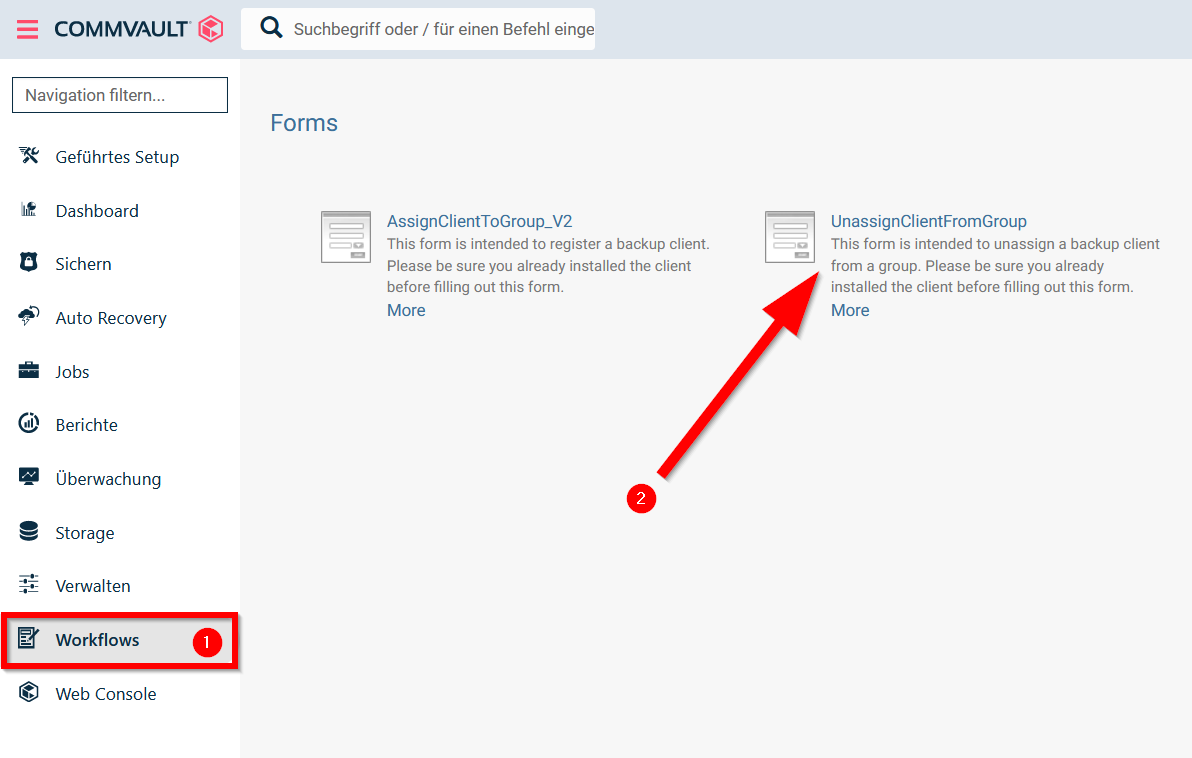
- Open the "Workflows" menu on the left-hand side.
- Click on "UnassignClientFromGroup".
To do this, you will need the FQDNs of the client and the Client Token.
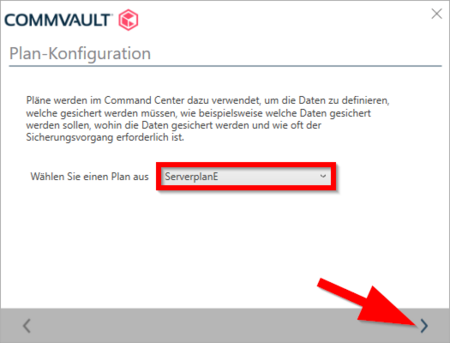
Setting up a backup[Bearbeiten | Quelltext bearbeiten]
If a computer is assigned to a group, it appears under "Protect/File servers". A backup plan must be assigned to it so that it performs a backup once a night. Backup plans with different names are available for Paderborn University, but these differ only in the storage systems used, so the aim is to distribute the load. Currently, the "ServerplanE" plan should preferably be used. The assignment can be made either in the list via the three-dot menu on the right or in the detailed view of the computer.
Restore data[Bearbeiten | Quelltext bearbeiten]
- When restoring data, the exact time can be selected using the calendar. The data to be restored can then be selected. These can then either be downloaded directly via the browser or restored to any other computer that can be accessed via Commvault.
- If a complete machine is to be restored, it is advisable to rename the old node in Commvault to "Node_name_old" before installing the client on the new node (otherwise the new node will be called "Node_name_1").
Disable or Delete Backups[Bearbeiten | Quelltext bearbeiten]
If a computer should no longer be backed up, for example, because it has been decommissioned, then the corresponding node in Commvault should be retired. This can be done via the three-dot menu on the right. A retired node will no longer be backed up; however, the data remains in the backup for the defined retention period (usually 3-6 months) and can be restored during this time. After this period, the node is automatically deleted. If it should be permanently deleted before the end of this period, this can also be done via the three-dot menu.
Further configuration options[Bearbeiten | Quelltext bearbeiten]
Backup start time[Bearbeiten | Quelltext bearbeiten]
- The default time for a backup is 18:00.
- It is possible to configure the backup start time individually for individual servers.
- Call up the following path:
- Manage --> Servers (adjust filter from "infrastructure" to "all") --> <Server>
- Adjust the following setting there:
Job start time
Backup password[Bearbeiten | Quelltext bearbeiten]
- It is possible to define a so-called passkey for each node. In this case, access to the backup is only possible with this password, even for all admins.
- CAUTION: If the backup passkey is lost, NO access to the backed up data is possible, neither for the user, nor for the administrators of the system, not even for the Commvault engineers. It is therefore strongly recommended to keep this passkey safe. We offer a fireproof safe in which the corresponding printouts can be stored.
- A passkey must be at least 8 characters long and consist of upper and lower case letters, special characters and numbers.
- If you would like to use a passkey, please write a ticket to zim@uni-paderborn.de.


