Zoom - Veranstaltung durchfuehren/en
Jnk (Diskussion | Beiträge) |
Jnk (Diskussion | Beiträge) |
||
| Zeile 34: | Zeile 34: | ||
* Click on the '''"Plus icon"''' and on '''"Add picture"''' | * Click on the '''"Plus icon"''' and on '''"Add picture"''' | ||
* Choose a picture that you want to use and click on '''"open"'''. | * Choose a picture that you want to use and click on '''"open"'''. | ||
| − | * To change the virual background in a meeting click on the small arrow next to | + | * To change the virual background in a meeting click on the small arrow next to "Deactivate Video" and click on "'''Choose a virtual background"'''. |
The quality of your virtual background depends on the performance of your computer. | The quality of your virtual background depends on the performance of your computer. | ||
Version vom 19. März 2021, 13:35 Uhr
Die deutsche Version finden Sie auf der Seite Zoom - Veranstaltung durchführen
Start meeting[Bearbeiten | Quelltext bearbeiten]
The planned meeting must be started by the host, before the participants can join.
Meeting interface[Bearbeiten | Quelltext bearbeiten]
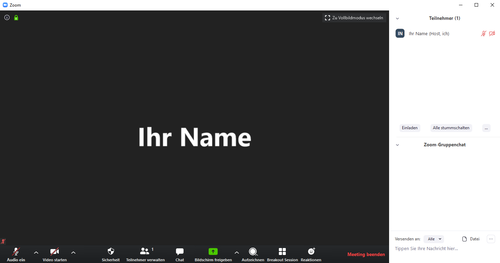
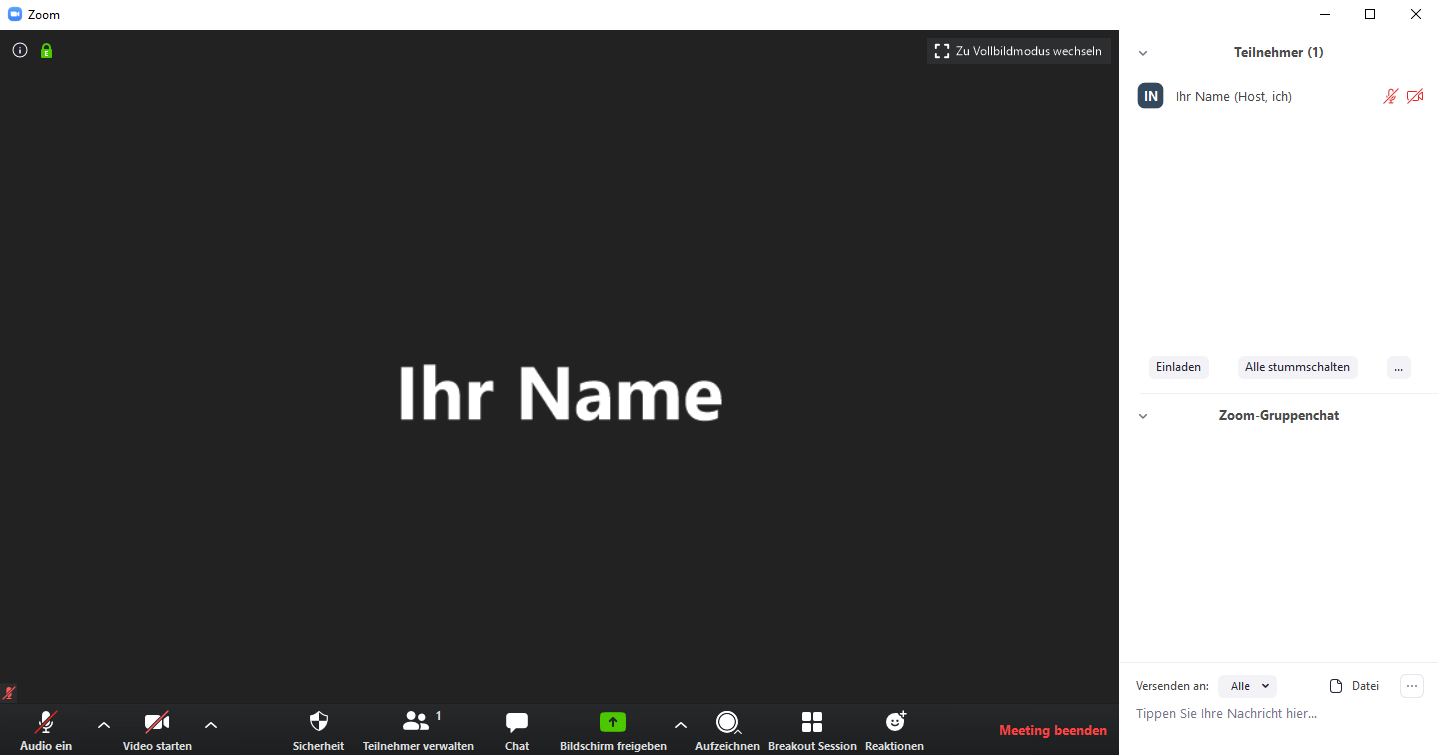
The meeting interface has three areas:
- In the middle you see the participants with activated camera.
- The bottom bar gives you an overview of your interaction and settings options. There you can also activate/deactivate the chat and the attendee overview ("Manage attendees").
- The right bar is only active if you have activated it (the corresponding buttons are located on the bottom bar).
- With the button "share screen" you have the option to present your content to the participants, e. g. Presentations already opened.
- By clicking on the “Invite” button on the right-hand bar, you can spontaneously invite additional participants to your meeting.
- The three dots on the right hand bar give you the opportunity to change the settings for your attendees. You can e. g. mute all participants or appoint co-moderators.
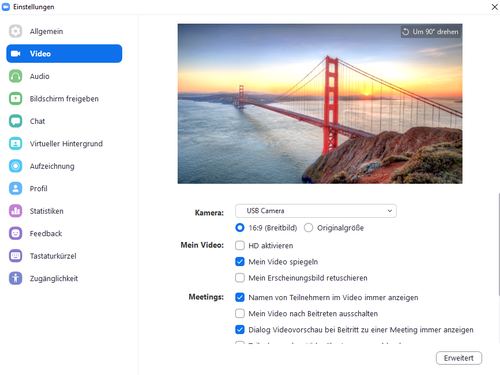
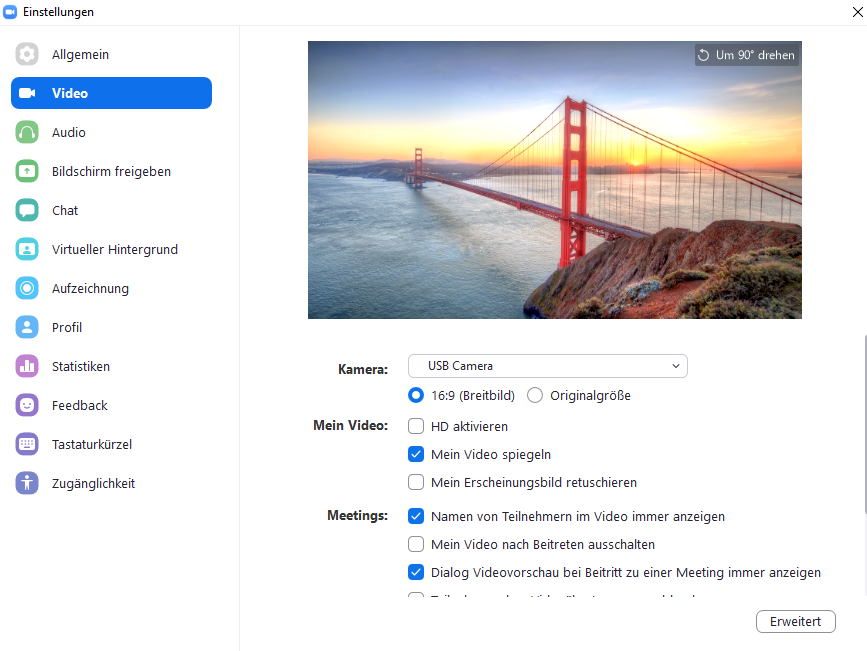
- The button with the up arrow next to the "Start Video" button allows you to access the video settings. Alternatively, Windows users can right-click on the Zoom icon in the Windows Task Bar to navigate to the settings.
Settings[Bearbeiten | Quelltext bearbeiten]
In the settings, you can choose your input and output devices. Furthermore you can change your virtual background.
Virtual Backgrounds[Bearbeiten | Quelltext bearbeiten]
To use a virtual background in zoom meetings, proceed as follows:
- Start Zoom and click on the "gear icon" in the top right hand corner.
- Click on "Background an Filter" and choose "Virtual Background".
- Click on the "Plus icon" and on "Add picture"
- Choose a picture that you want to use and click on "open".
- To change the virual background in a meeting click on the small arrow next to "Deactivate Video" and click on "Choose a virtual background".
The quality of your virtual background depends on the performance of your computer.
Siehe auch[Bearbeiten | Quelltext bearbeiten]
- Zoom - Allgemeine Informationen
- Zoom - Registrierung (für Veranstalter*innen)
- Zoom - Overview of all Zoom articles


